A travel food warmer helps people eat hot meals while away from home. It keeps food warm and reduces reliance on restaurant meals. Readers will learn types, features, safety tips, packing ideas, recipes, and care steps. The article uses clear examples and practical tips for everyday travel.
Key Takeaways
- A travel food warmer saves money and time while letting you control ingredients and portion sizes on the road.
- Choose the right type—electric (car/USB), battery-powered, insulated thermal, steam-based, or butane—based on your power access and trip style.
- Prioritize leak-proof lids, food-grade materials, removable trays, and compatible power options (12V/USB-C) when buying a travel food warmer.
- Keep hot food above 140°F (60°C) and reheat leftovers to 165°F (74°C) with a food thermometer to prevent bacterial growth.
- Pack single-serving containers, preheat the unit when possible, clean trays after each use, and replace worn seals to maintain safety and performance.
Why Use A Travel Food Warmer
People choose a travel food warmer for convenience. It saves money and time. It helps travelers control ingredients and portion sizes. It reduces food waste when people heat leftovers. It supports specific diets and food needs during trips. It also lowers the need to find a microwave or restaurant on short notice.
Types Of Travel Food Warmers
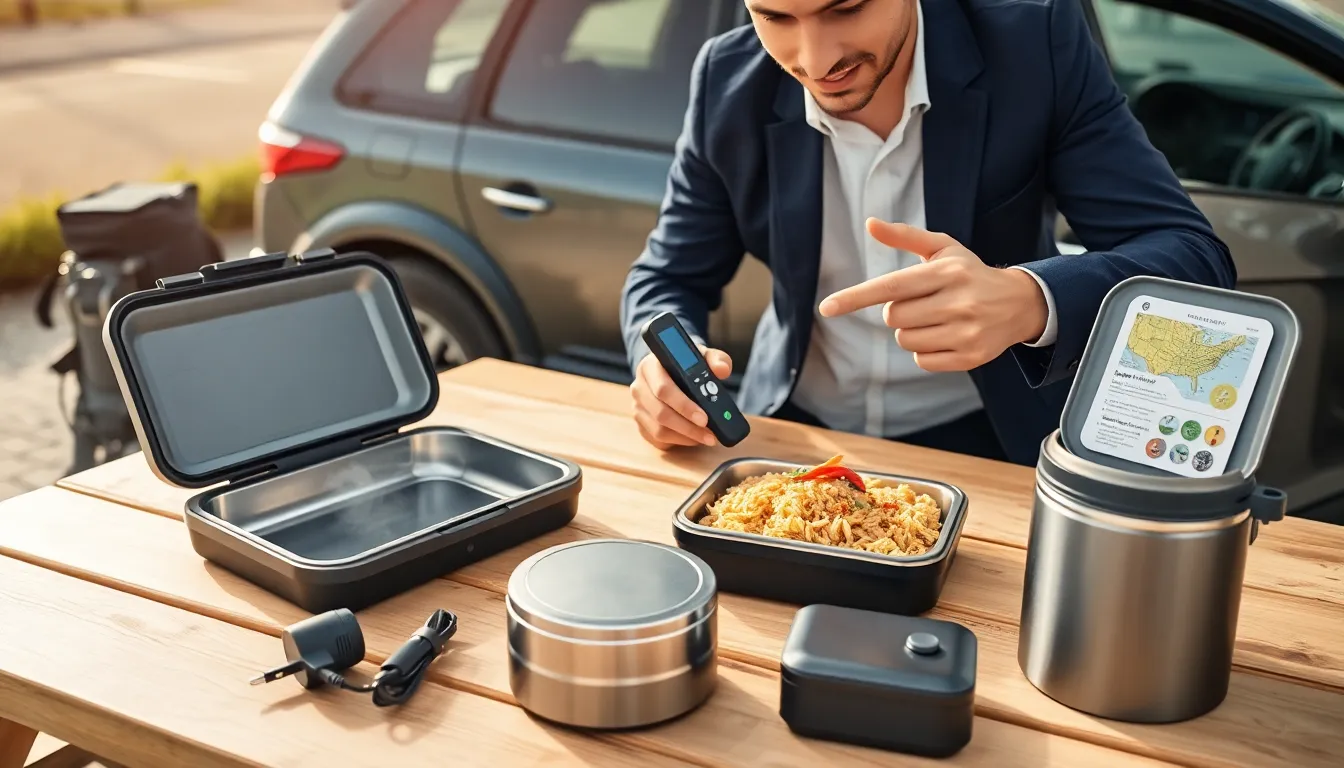
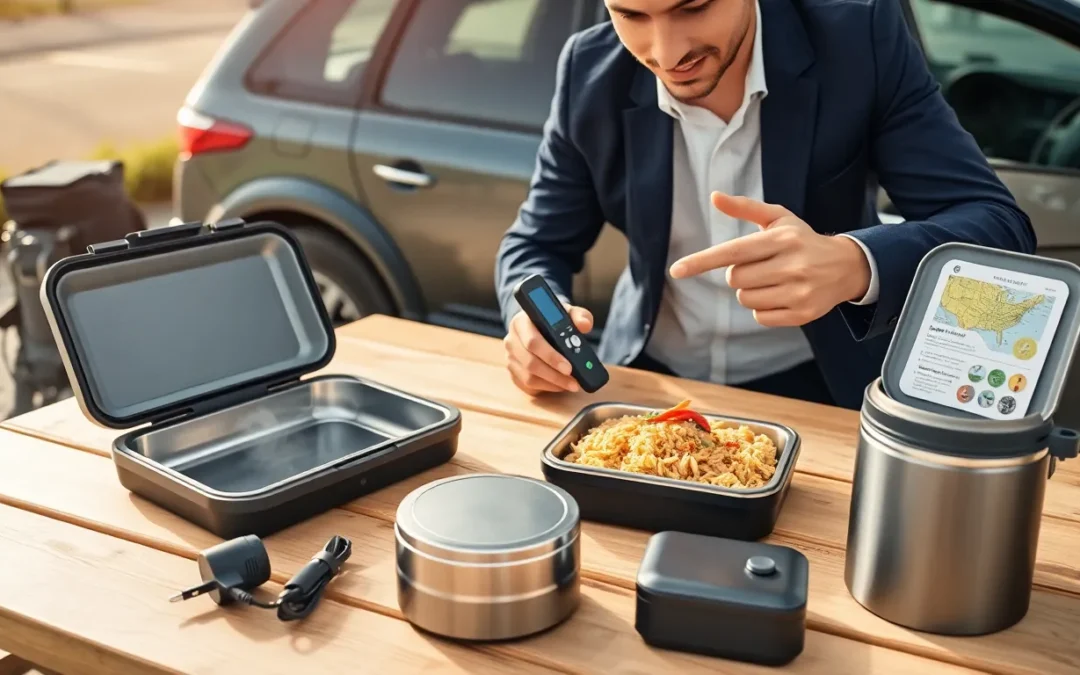
Electric lunch boxes plug into car adapters or wall outlets. They heat food fast and keep it warm for hours. Battery-powered warmers run on rechargeable batteries. They suit hikers and campers with limited access to power. Insulated thermal containers use vacuum insulation. They maintain heat without electricity for several hours. Steam-based warmers use hot water that people pour in to warm food. They require careful handling but work where electricity is unavailable. Portable butane stoves let travelers cook or reheat food outdoors. They need fuel and safe ventilation.
Features To Look For When Buying
Buy a travel food warmer with a secure lid and leak-proof seal. Look for food-grade materials such as stainless steel or BPA-free plastic. Check heating speed and temperature control options. Confirm the unit supports vehicle adapters or USB-C charging. Prefer models with removable trays for easy cleaning. Choose a size that fits common meal containers. Seek insulation performance if the warmer will run without power. Read warranty terms and check user reviews for reliability.
Safe Use And Food Safety Tips
Keep hot food above 140°F (60°C) to limit bacterial growth. Cool cooked food quickly before packing it in a travel food warmer. Use a food thermometer to confirm safe temperatures. Reheat leftovers to at least 165°F (74°C) before eating. Avoid leaving perishable food at room temperature for more than two hours. Clean containers after each use to remove residue. Store raw and cooked items separately to prevent cross-contamination. Replace seals or lids that show wear.
Practical Tips For Packing And Heating Meals
Pack meals in single-serving containers for even heating. Preheat the travel food warmer when the device allows it. Place denser foods at the bottom of containers to heat thoroughly. Use small ice packs when transporting perishable items before use. Secure lids with bands or elastic to avoid spills. Heat liquids in short bursts and stir between bursts to distribute heat. Test new recipes at home to confirm heating time and texture.
Best Foods And Simple Travel-Friendly Recipes
Rice bowls with cooked vegetables and protein reheat well. Pasta with sauce holds heat and stays moist. Stews and chili retain heat and taste good after reheating. Grain salads keep well when people add dressing at eating time. Soups heat evenly in most travel food warmer units. A simple recipe: mix cooked rice, shredded chicken, steamed broccoli, and a light sauce. Pack sauce separately to avoid soggy food during transport. For breakfast, cook oatmeal with milk and cinnamon then warm in the device.
Maintenance, Cleaning, And Storage
Clean the travel food warmer after each use. Wipe external surfaces with a damp cloth and mild soap. Remove internal trays and wash them by hand or in the dishwasher if allowed. Air dry parts before storage to prevent odor and mold. Store the unit in a cool, dry place away from direct sunlight. Check seals and cords for damage before each trip. Replace worn parts promptly to keep the unit safe.
Electric Vs. Non-Electric Options: Pros And Cons
Electric options heat food quickly and keep temperatures steady. They need power and may add weight. Non-electric options rely on insulation or hot water. They need no power but may not reach high temperatures for reheating.
Insulation Bags And Thermal Containers Explained
Insulation bags slow heat loss with foam or vacuum layers. Thermal containers use vacuum-sealed stainless steel to hold temperatures. People use these options when they want warm food without active heating.
Capacity, Size, And Weight Considerations
Choose a size that fits typical meals and travel luggage. Smaller units fit backpacks and briefcases. Larger units suit families or long trips. Weight matters for hikers and commuters who carry the unit all day.
Power Sources, Charging, And Adapter Tips
Check if the travel food warmer supports 12V car adapters, USB-C, or AC plugs. Carry a multiport charger for convenience. Bring car adapters if people plan to warm food on road trips.
Temperature Guidelines And Holding Times
Keep hot food above 140°F (60°C) while holding. Use a thermometer to confirm heat. Hold cooked meals for no more than four hours at safe temperatures.
Avoiding Cross-Contamination And Safe Containers
Use separate containers for raw and cooked foods. Clean hands and utensils before packing meals. Pick containers labeled food-safe and leak-proof.
Quick Reheating Tricks Without A Travel Warmer
Use a car engine heat bag or a thermos with boiling water for short times. Place food in a sealed bag and submerge in hot water if people have access to hot water. Microwave food when a microwave is available.